
After doing the initial setup of the Raspberry Pi, the next step is to install
Home Assistant on the Pi. Home Assistant is an open source home automation interface designed to work with lots of
existing IoT devices and is very customizable for any application. It's also commonly run on a Raspberry Pi with
lots of community support online. That is why I chose it for this project.
The two recommended ways of installing Home Assistant are installing the full
Home Assistant operating system, or installing the Home Assistant container. While it seems like the home assistant
operating system has more features, it also limits the Raspberry Pi to only running Home Assistant. Since I want to
run other scripts and applications on the Raspberry Pi as well and have better control of the Pi's interfaces, I will be going with
the container installation.
In order to install the container, we first need to install Docker. This can be
done by first downloading the install script with:
curl -fsSL https://get.docker.com -o get-docker.sh
You can then run the script with:
sudo sh get-docker.sh
Once Docker is installed we can now install Home Assistant. The Home Assistant
website has good instructions here, although we need to make one small modification:
Since we want Home Assistant to have access to the GPIO as well as USB devices,
we need to add the "--privileged" flag to the docker run command. We also want to run it as
administrator so we add "sudo" to the start of the command. This is what I ran to install Home Assistant on my Pi:
sudo docker run --init -d \
--name homeassistant \
--restart=unless-stopped \
-v /etc/localtime:/etc/localtime:ro \
-v /PATH_TO_YOUR_CONFIG:/config \
--network=host \
--privileged \
homeassistant/raspberrypi4-homeassistant:stable
Once Home Assistant is done installing, it should start running automatically.
Test it out by entering "http://<host>:8123" in your web browser, but replace <host> with your PI's IP
that we found earlier (the same address used for SSH). If everything worked you should see this Home Assistant Page:
You can now follow the prompts to configure Home Assistant. Once finished,
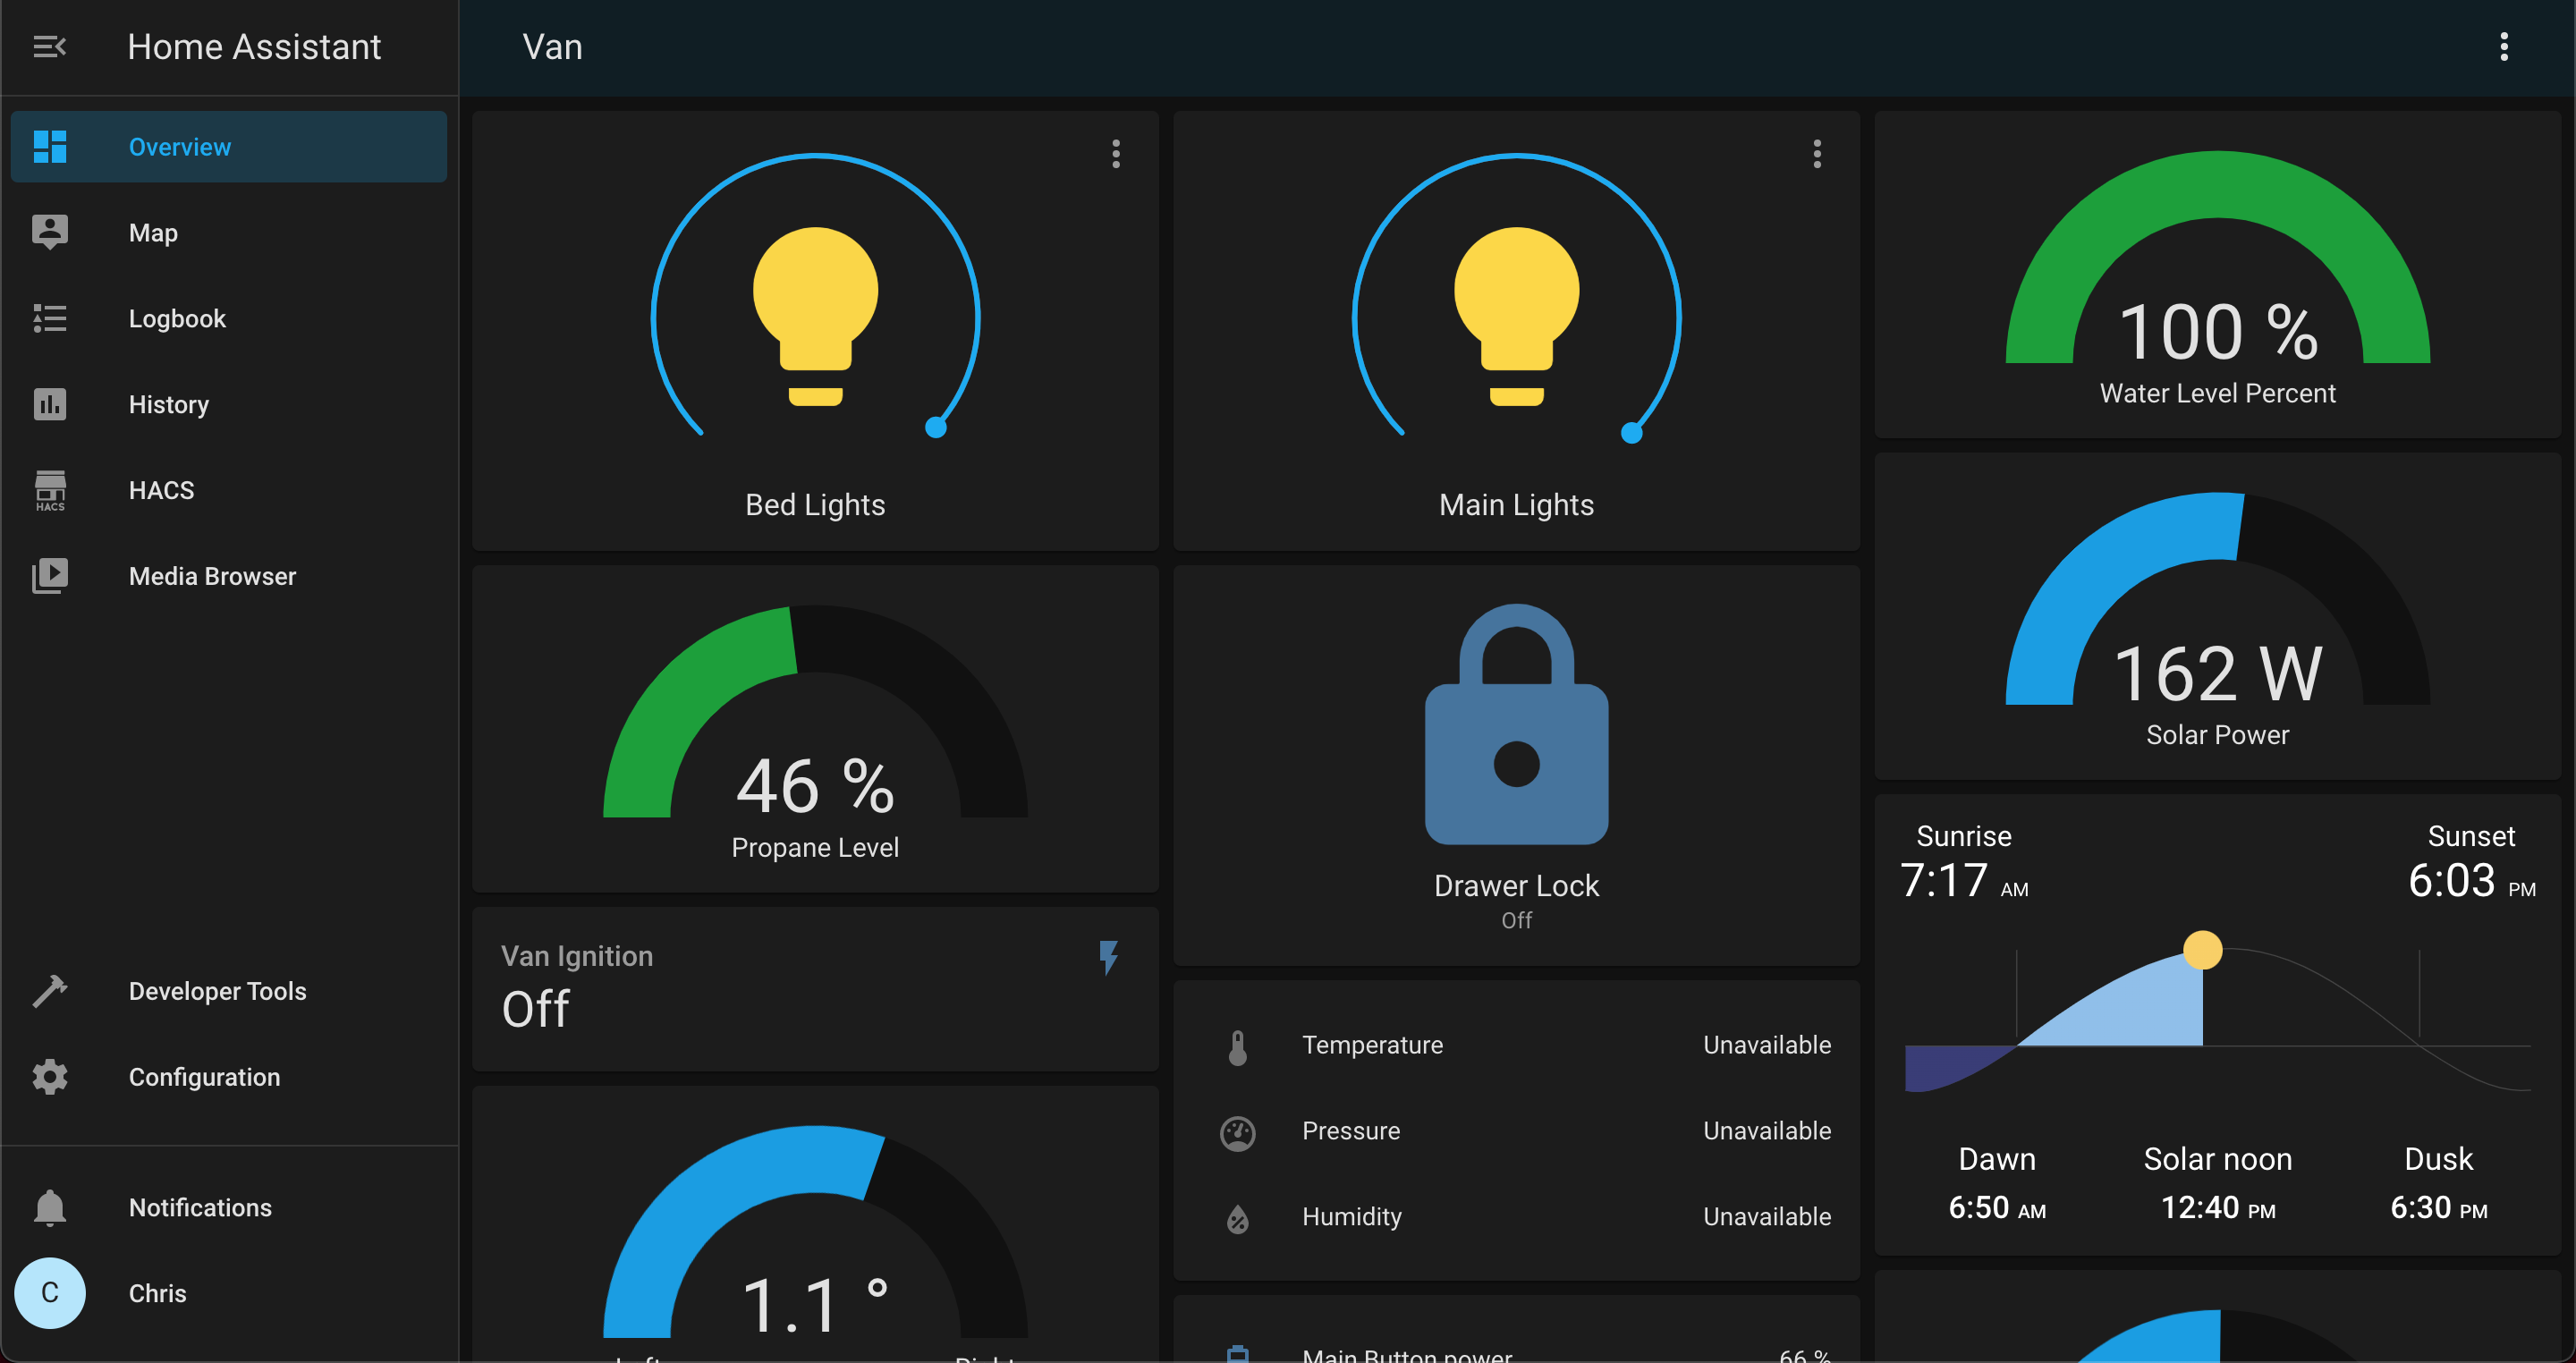
you should see the default interface that looks something like this:
With Home Assistant now set up, you should
be able to access this interface from any phone or computer on your network by going to the same web address
as above and signing in with your username and password. You can also access it with the Home Assistant app if
you download it to your phone.
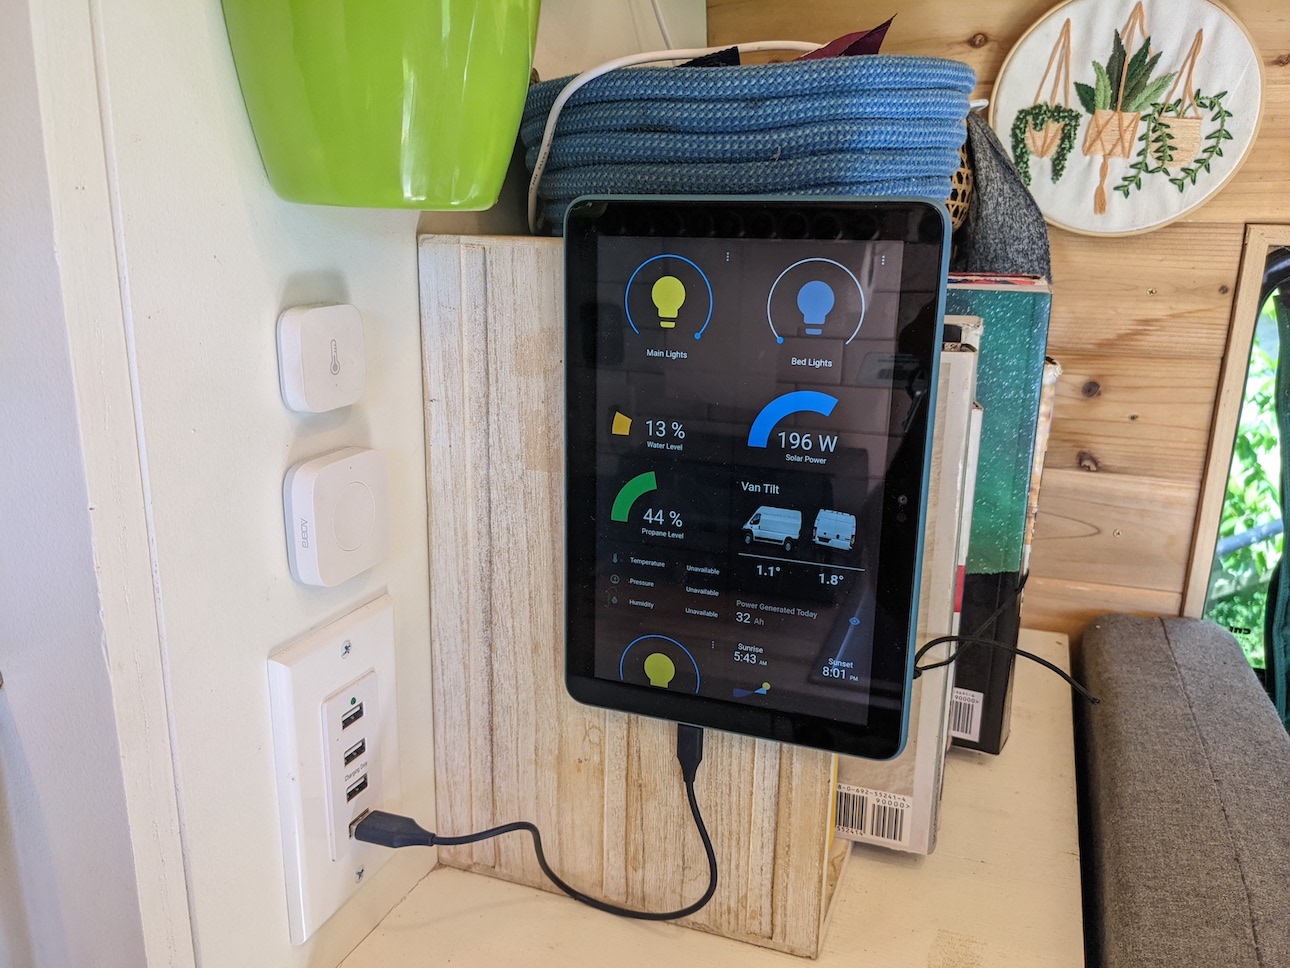
I originally mounted an old smartphone in the van and installed the Home Assistant app on it, but the screen was a bit small.
I recently found a good deal on a Kindle Fire tablet so I'm using that instead. I use the Fully Kiosk app to connect to the
Home Assistant webpage and display it as the main screen on the tablet. Now I have a permanent screen to
access home assistant from, monitor sensors, and control the lights.
Home assistant isn't very useful without
integrating it with the different systems of the van, so next we'll look at using it to control the lights!